

RECYCLED SILK SCARF AND HAT
WOOL SCARF, HATS AND GLOVES


MAGIC LOOP KNITTING
LEARN HOW TO:
 |
ILLUSTRATED BY LISA |
 |
I have been doing quite allot of searching on the internet to find a site that goings into detail diagrams on this subject and could not find one. This is the perfect technique for those who hate using Double Pointed Needles. You can use this for the smallest project; closing up hats, socks, gloves, and even knitting the fingers on a glove.
There is no need to go a buy the Magic Loop book or the other products that are out there. All you need is a circular needle. It does not matter what cable size you use. I first started out with a set from Dennis and was very disappointed with them. I sold them and bought the set from Knit Picks. They are great to work with and the company stands behind their product. I had 2 cables come lose and they were replaced free of charge. They only come in size 4-17 and for smaller projects I use the Fixed Circular needles.
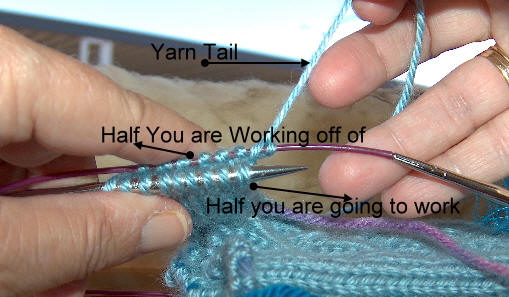
Here is a picture that I
have made my own labels so you can understand
what I am talking about:
For the step by step illustrations below I am going to use a 32" cable a size 6 needle. I use this for my wool hats and gloves, so I don't have to change cables.
-
Cast on your stitches:
-
Slide your yarn to the end of the cable, like this:
-
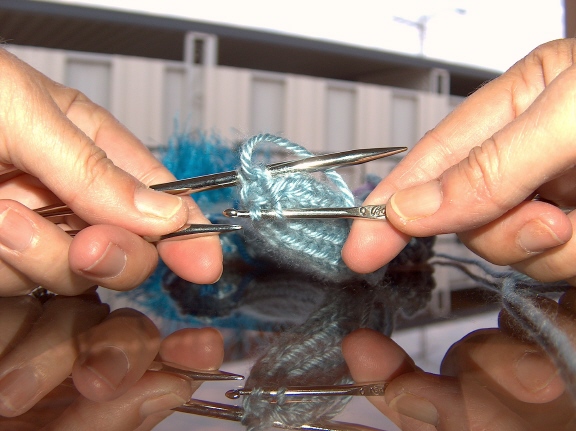
Now fold your yarn and cable in half :
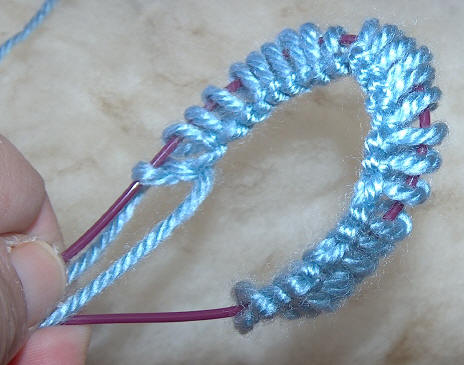
-
Then slide your yarn down the your needles and make sure not to twist the stitches:

-
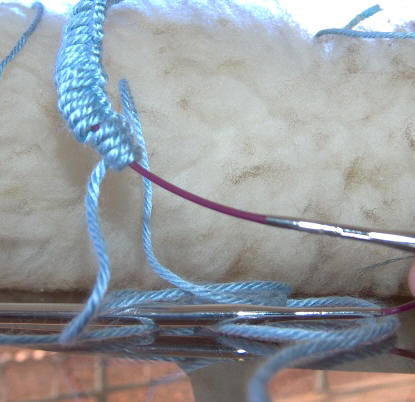
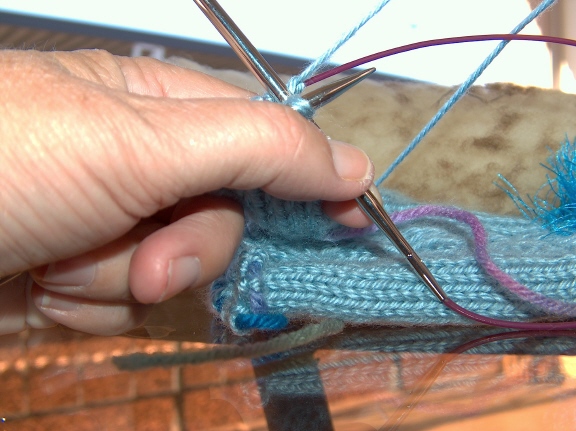
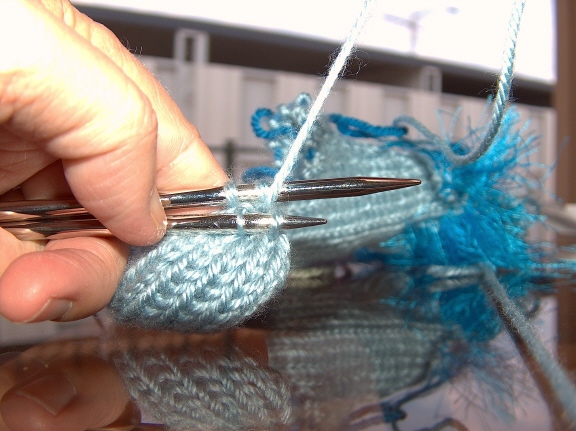
Now take the side that has your tail on, slide the needle out, so the stitches remain on the cable:
-
As you can see, I have my yarn above the cable:
-
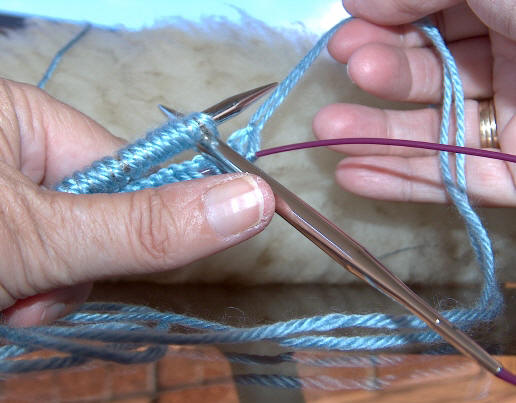
When you do the first couple of stitches on a new half, make sure you knit or pearl them tight:
-
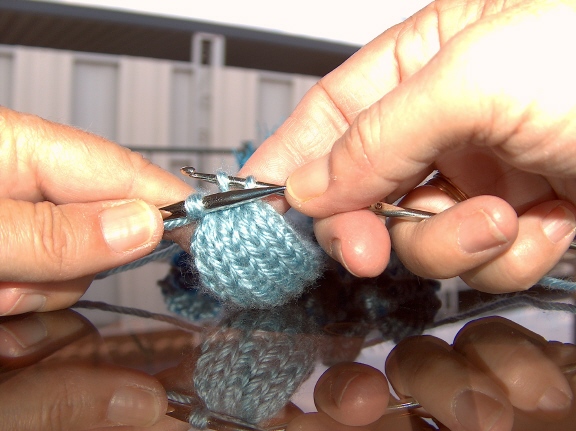
Start knitting, when you are finished, turn it over and repeat the above pattern, so the next half you are going to knit is on the edge of the needle and the other half is slid down on the cable:
-
The above are instructions for the 1st stitch is for "knit". If the 1st stitch you do is "Pearl", make sure your yarn tail is like this:
Knit: The yarn is
above the cable on the half you just worked.
Pearl: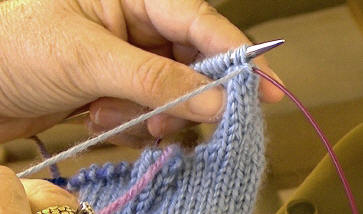
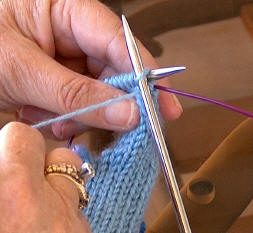 the yarn is brought to the front of the new
half you are going to work.
the yarn is brought to the front of the new
half you are going to work.
-
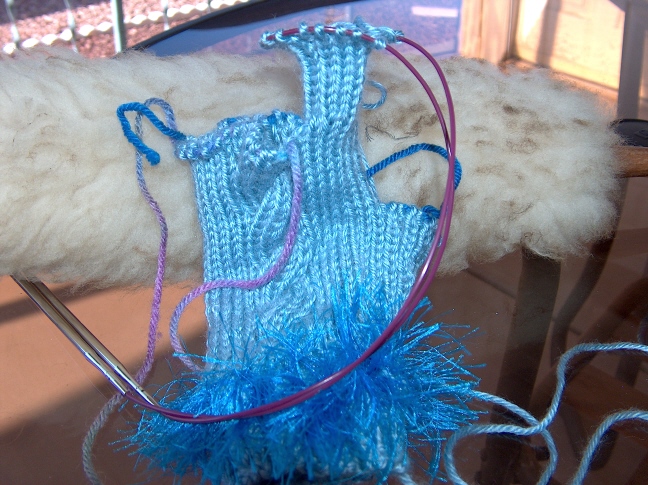
If you are knitting an item that increases or decreases in stitches, you will need to slide both sides of your project and half that so you have an even amount of stitches on each side like this:
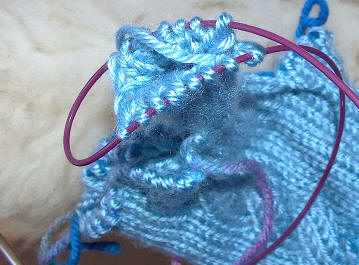
1st slide all your stitches to the end of both leads and bring them together like this:
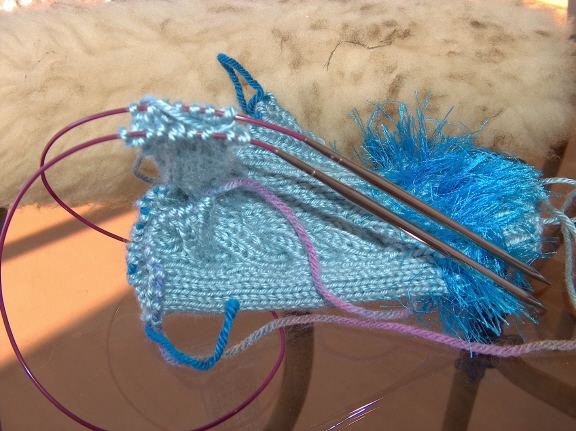
Then divide them in half and slide them up on the cables like this:
Then continue like the instructions above.
-
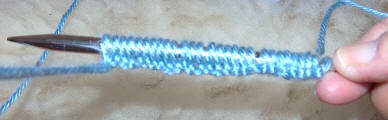
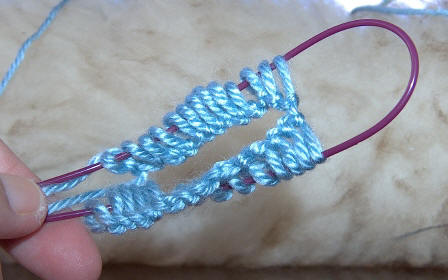
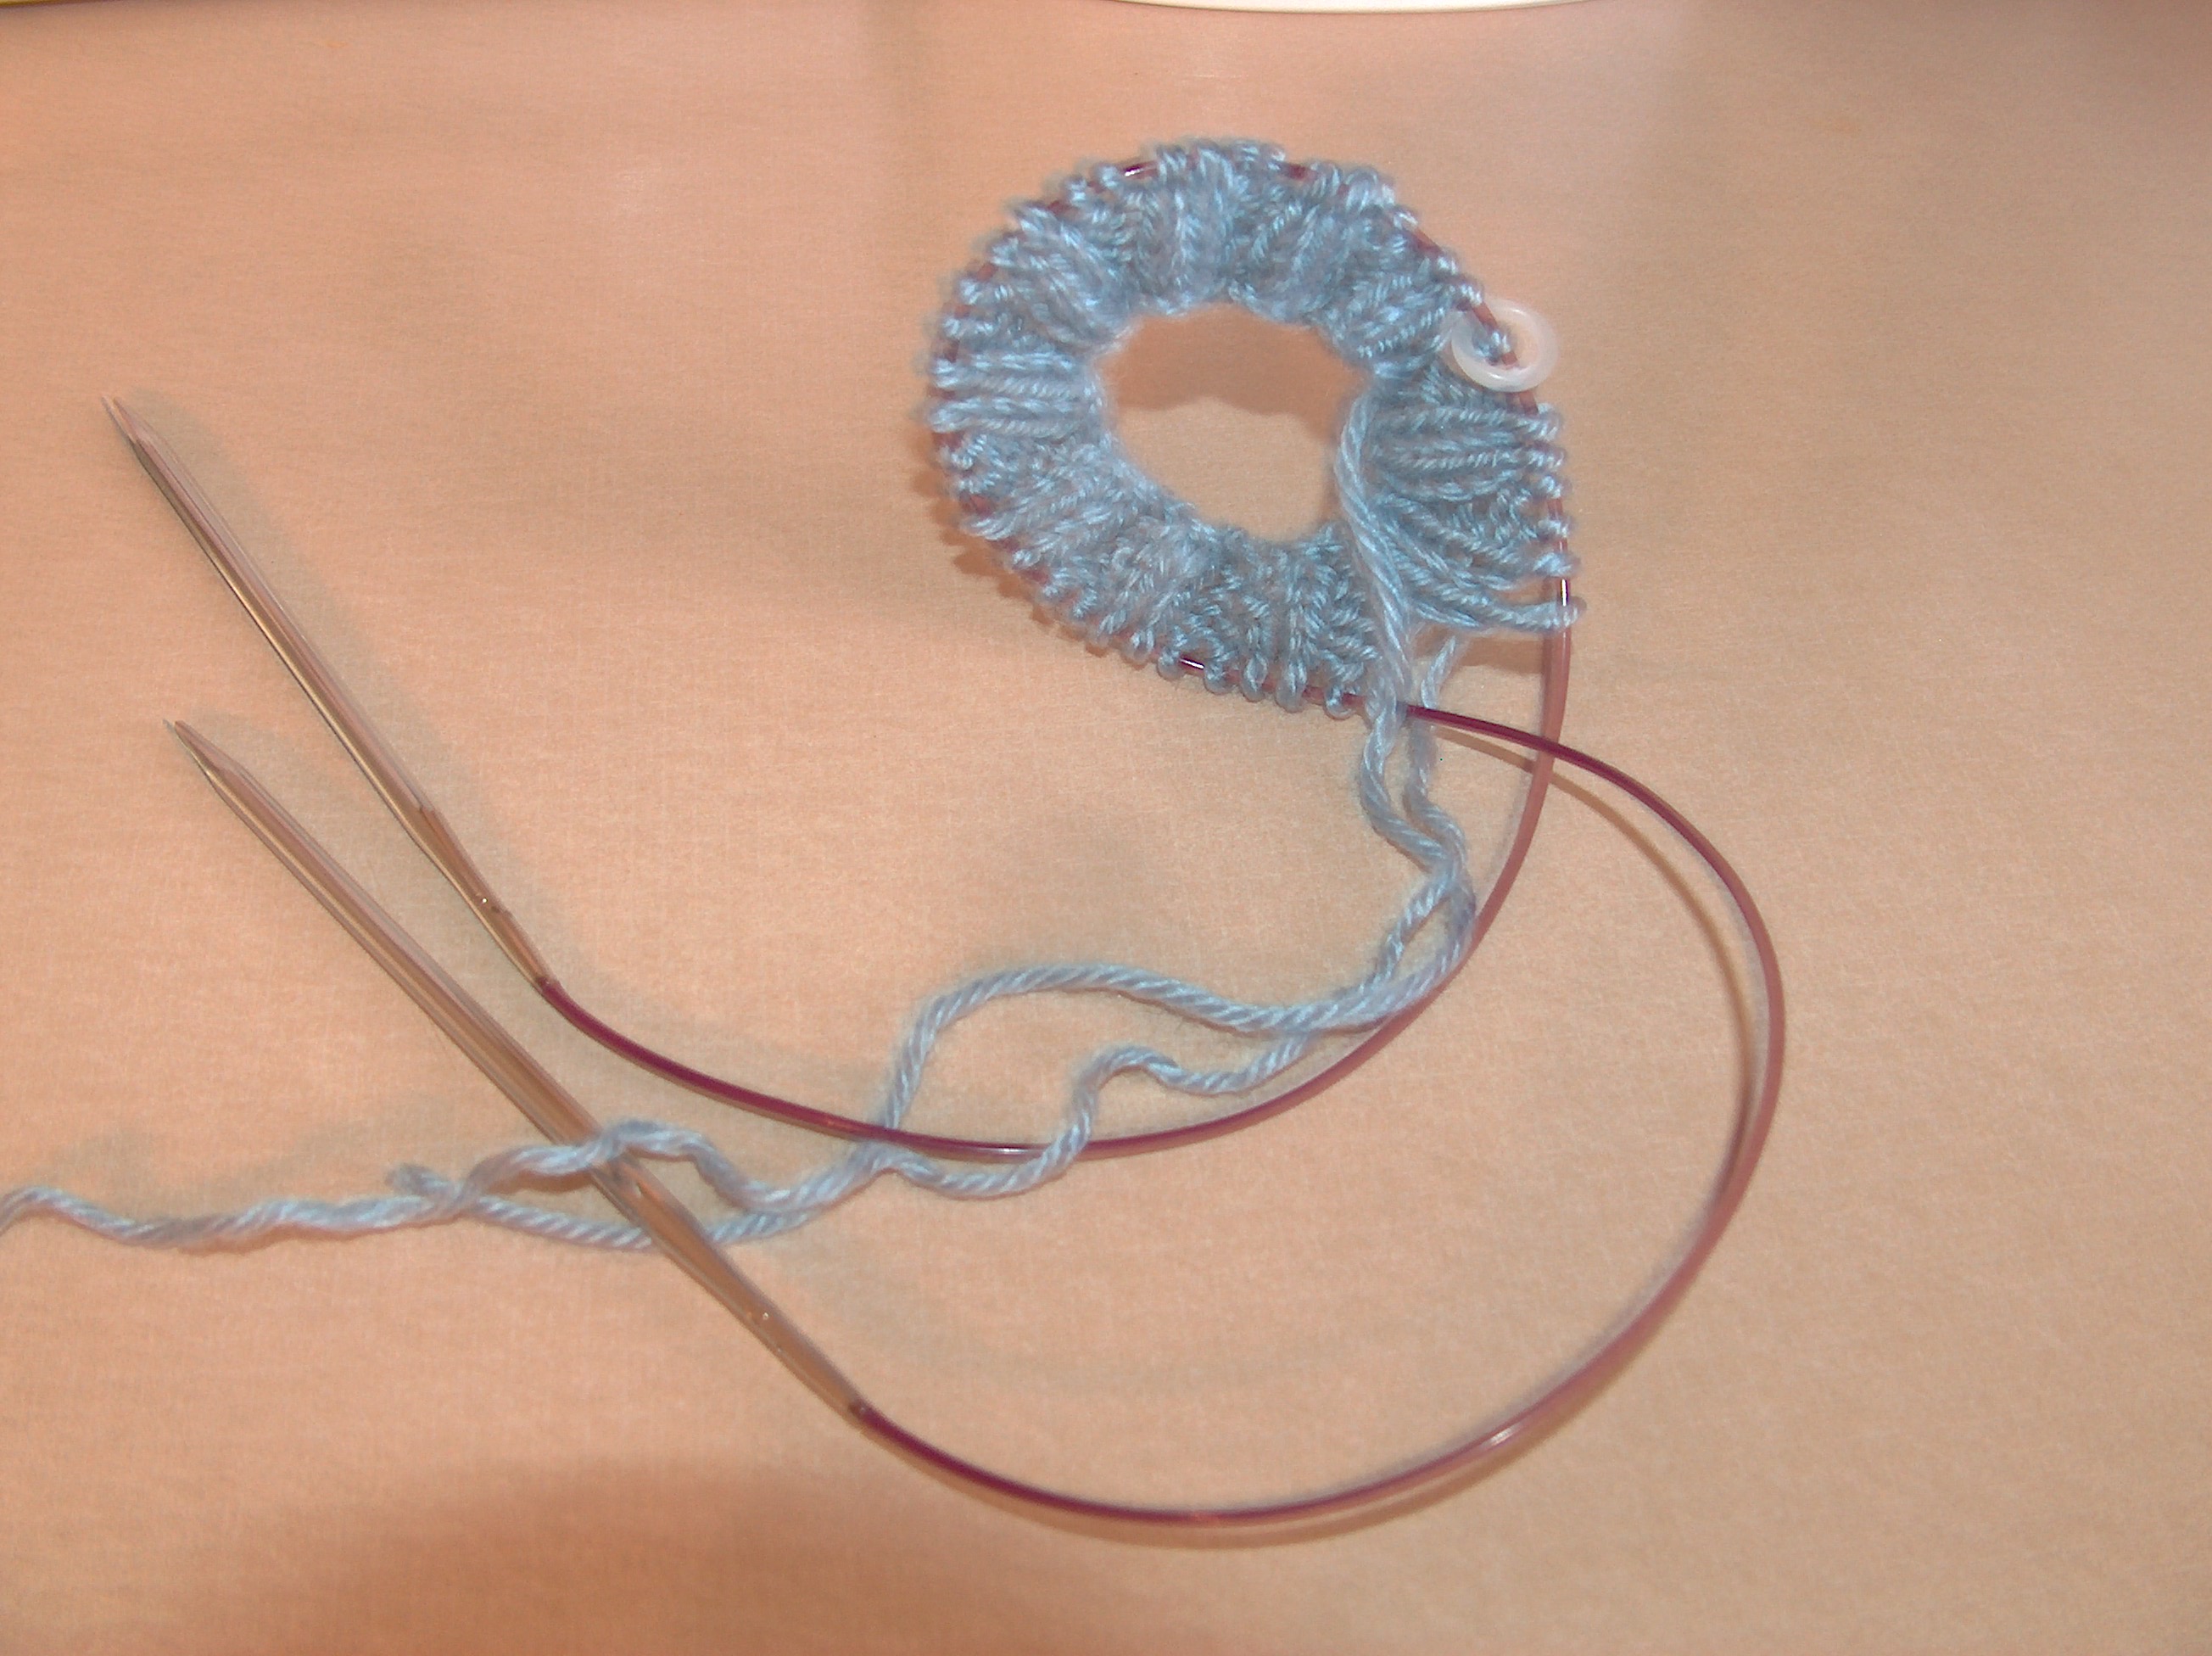
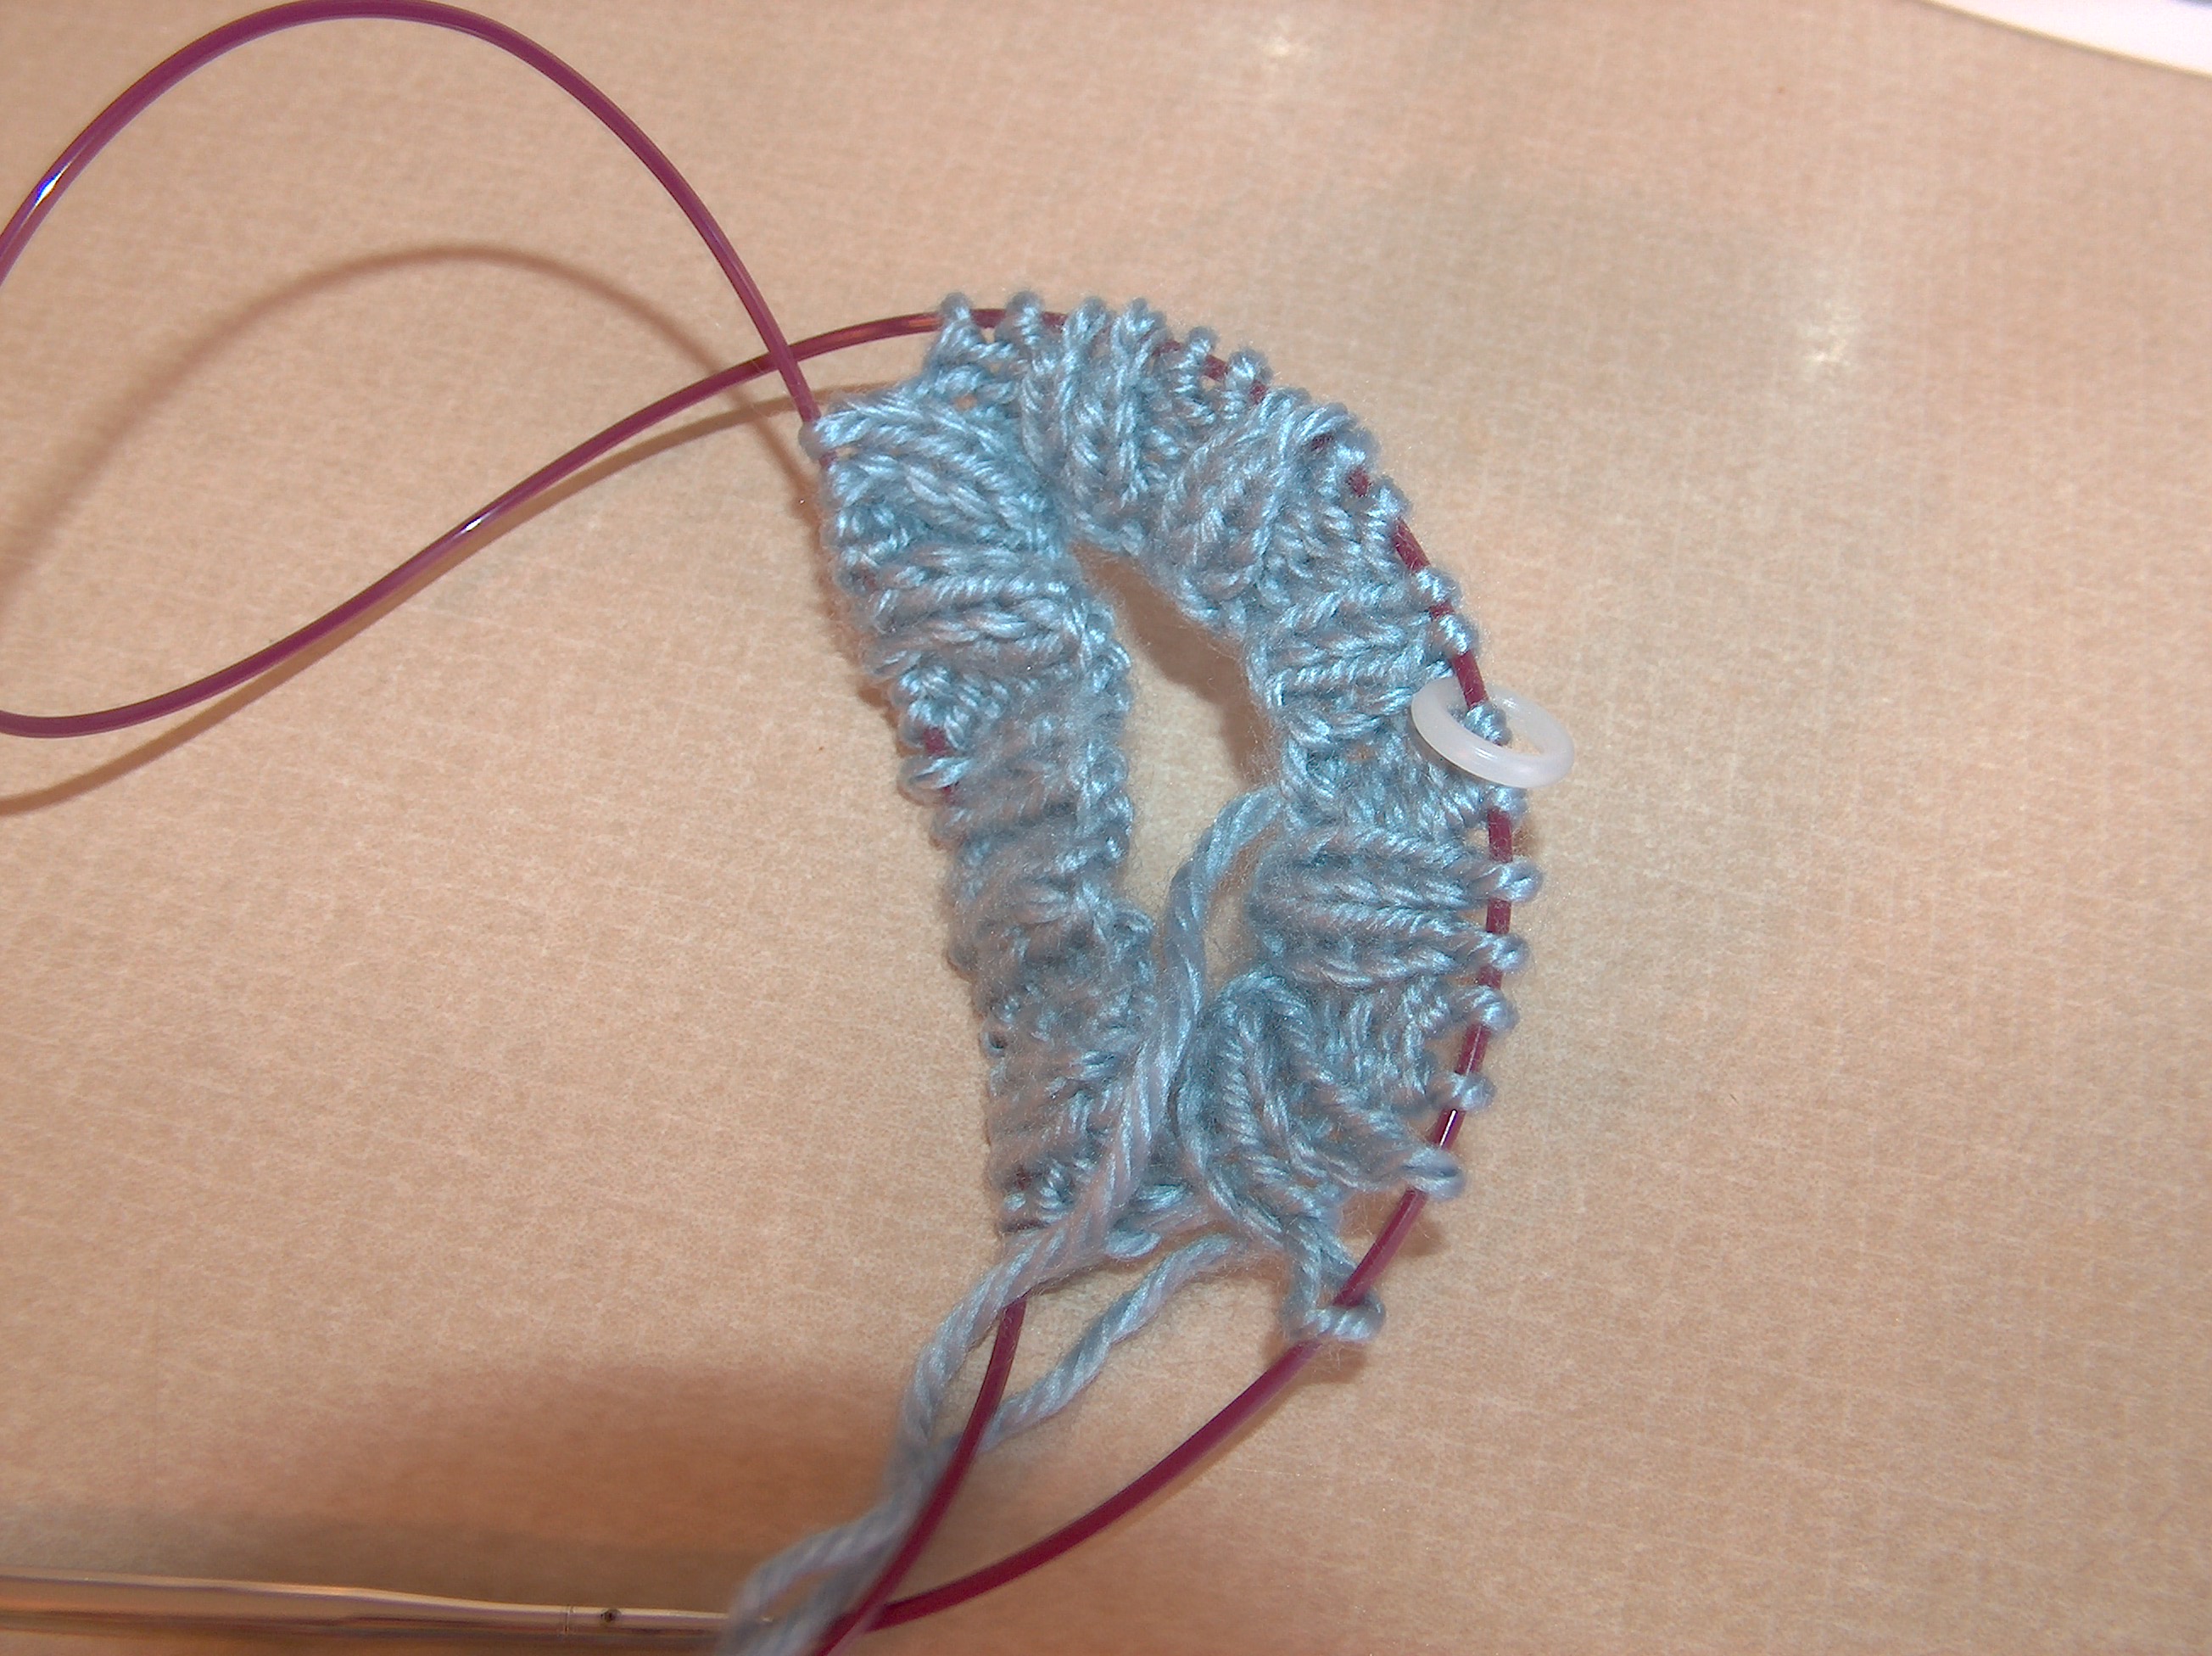
here are some examples of working with just a few stitches, like fingers on a glove. You can use this clear up to where you bind off.
-

Copyright © By Lowell Enterprises